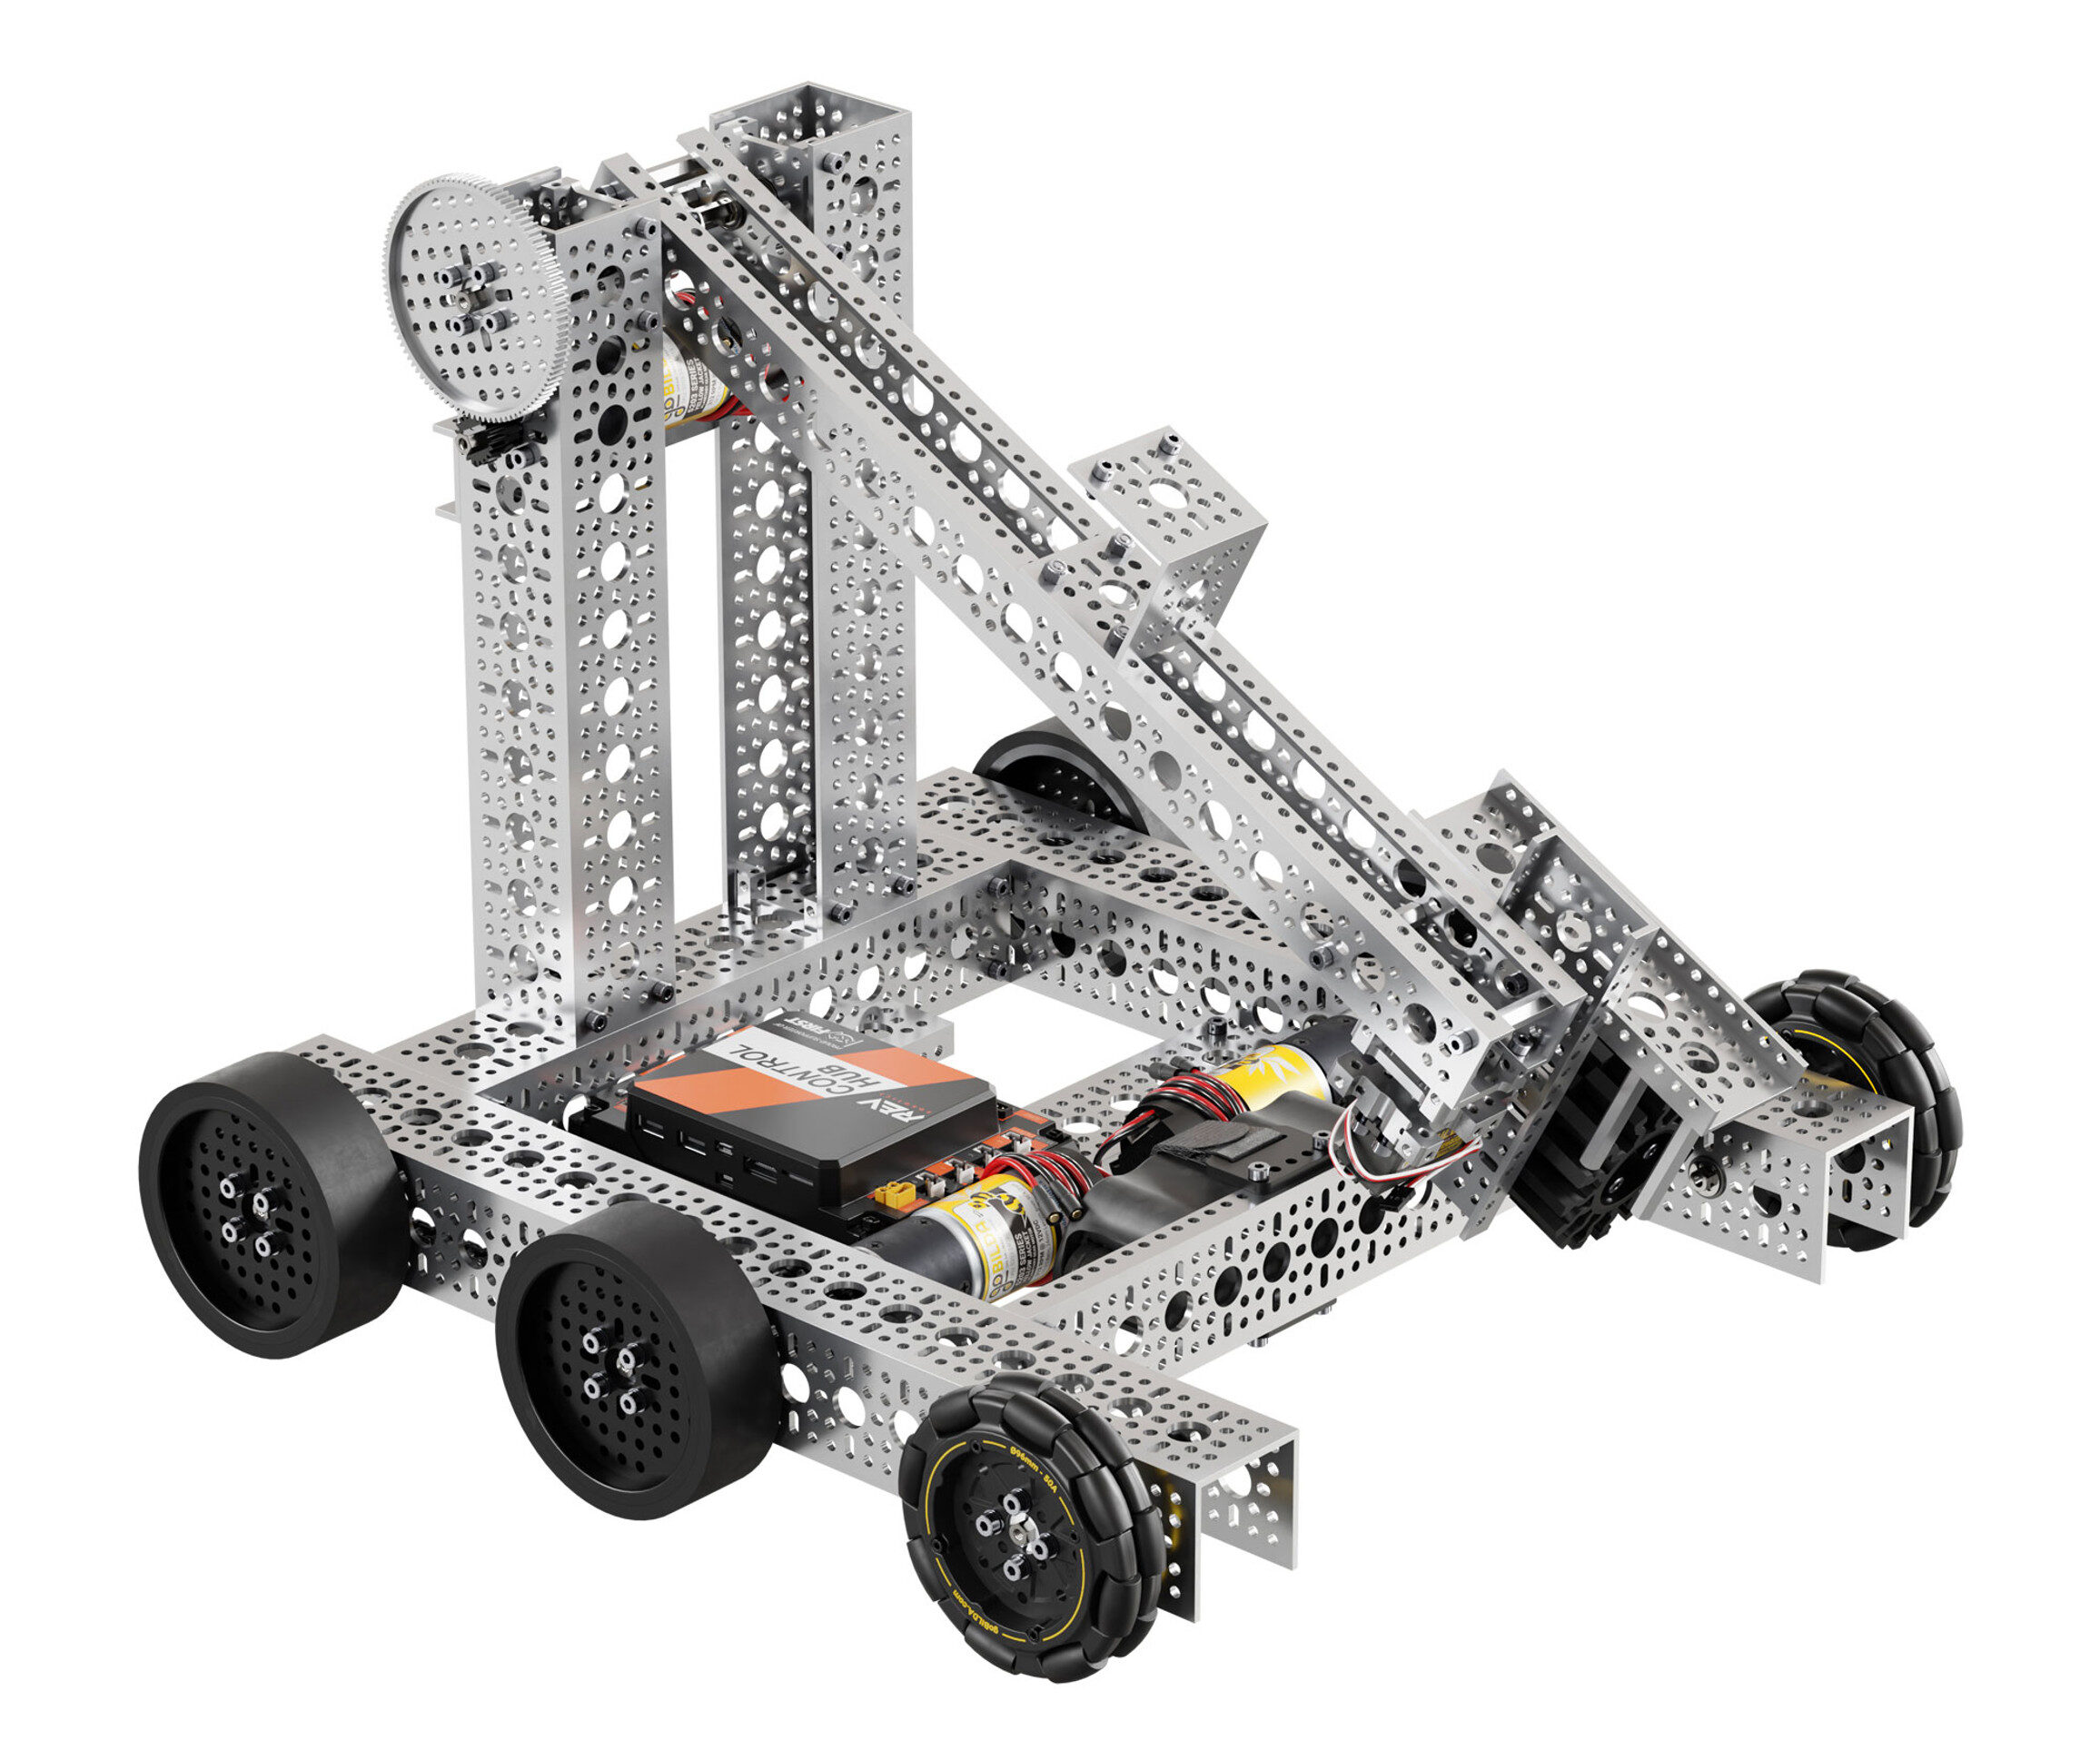
The use of spacers in FTC (FIRST Tech Challenge) robotics is a critical yet often underestimated aspect of robot construction. Properly installing spacers can ensure optimal functionality, durability, and efficiency of your robot. This guide walks you through putting spacers on an FTC robot, ensuring that your build meets competitive standards while being mechanically robust. Let’s explore the steps in detail.
What Are Spacers and Why Are They Important?
Spacers are small cylindrical components used in robotics to maintain specific distances between two or more parts. They are crucial in:
- Aligning Components: Spacers ensure that gears, sprockets, wheels, and other mechanical elements are properly aligned.
- Reducing Friction: By maintaining separation between moving parts, spacers minimize unnecessary friction and wear.
- Enhancing Structural Integrity: They help distribute loads evenly and prevent components from colliding.
Understanding their importance sets the foundation for proper installation and usage.
Tools and Materials Needed
Before you begin installing spacers, gather the following tools and materials:
- Spacers: Plastic or metal, depending on your robot’s design.
- Axles and Shafts: Common sizes include hexagonal or round shafts.
- Washers: To enhance precision and reduce wear.
- Nuts and Screws: For securing components.
- Wrench or Allen Key: To tighten screws and nuts.
- Calipers or Ruler: For precise measurements.
- Pliers: To grip small components.
- Thread Locker: Optional, but useful for securing screws.
Step-by-Step Guide to Installing Spacers
Follow these steps for a precise and efficient spacer installation:
Step 1: Plan Your Assembly
- Analyze the Design:
- Review your robot’s CAD model or blueprints.
- Identify areas where spacers are required, such as axles, gearboxes, or structural beams.
- Choose the Right Spacer:
- Determine the required length of spacers based on the distance between components.
- Use calipers to measure the gap accurately.
- Select spacers made of appropriate material (e.g., plastic for lightweight applications, metal for high-stress areas).
Step 2: Prepare the Shaft or Axle
- Clean the Shaft:
- Remove any debris or dirt from the shaft.
- Ensure the shaft is straight and free of damage.
- Install the Shaft:
- Insert the shaft through the desired components (e.g., motor mount, bearings).
- Ensure the shaft is properly seated and rotates freely.
Step 3: Install the Spacers
- Slide the Spacer Onto the Shaft:
- Gently slide the spacer onto the shaft until it reaches the desired position.
- Ensure the spacer is flush against the adjacent component.
- Check Alignment:
- Verify that the spacer aligns correctly with the other components.
- Make adjustments as needed to avoid misalignment.
- Secure the Spacer:
- Use washers on either side of the spacer if required.
- Tighten the spacer in place using a nut or locking collar.
- Avoid overtightening, as this can damage the spacer or adjacent components.
Step 4: Test the Assembly
- Spin the Shaft:
- Rotate the shaft manually to check for smooth movement.
- Ensure there is no excessive friction or binding.
- Inspect the Alignment:
- Verify that all components, including the spacers, are aligned properly.
- Adjust as needed to eliminate any wobbling or uneven spacing.
- Test Under Load:
- Power on the motor and test the assembly under real-world conditions.
- Observe for any issues, such as excessive noise or vibrations.

Best Practices for Using Spacers
- Use Quality Spacers:
- Invest in high-quality spacers that can withstand wear and tear.
- Avoid Overloading:
- Ensure spacers are not subjected to excessive loads beyond their design capacity.
- Regular Maintenance:
- Inspect spacers periodically for signs of wear or damage.
- Replace worn-out spacers promptly to avoid mechanical failures.
- Use Locking Mechanisms:
- Employ locking collars or thread lockers to secure spacers in high-stress areas.
Common Mistakes to Avoid
- Using Incorrect Spacer Sizes:
- Always measure the required spacer length precisely to avoid misalignments.
- Skipping Washers:
- Washers add an extra layer of precision and protection; don’t skip them.
- Overtightening:
- Over-tightened spacers can deform or damage adjacent components.
- Ignoring Material Properties:
- Use metal spacers for high-stress areas and plastic for lightweight, low-stress applications.
FAQs About Spacers in FTC Robotics
Q1: Can I use 3D-printed spacers?
- Yes, 3D-printed spacers can be used, but ensure they are printed with durable materials like nylon or PETG.
Q2: How do I determine the spacer length?
- Measure the gap between components using calipers and select a spacer slightly shorter to avoid compression issues.
Q3: What’s the difference between a spacer and a washer?
- A spacer is used to maintain a specific distance, while a washer distributes load and reduces friction.
Conclusion
Properly installing spacers on an FTC robot is essential for achieving mechanical precision and reliability. By following the steps outlined in this guide, you can ensure that your robot operates efficiently and meets the rigorous demands of FTC competitions. Always prioritize planning, precision, and quality when working with spacers to build a robust and competitive robot.

